


|
|
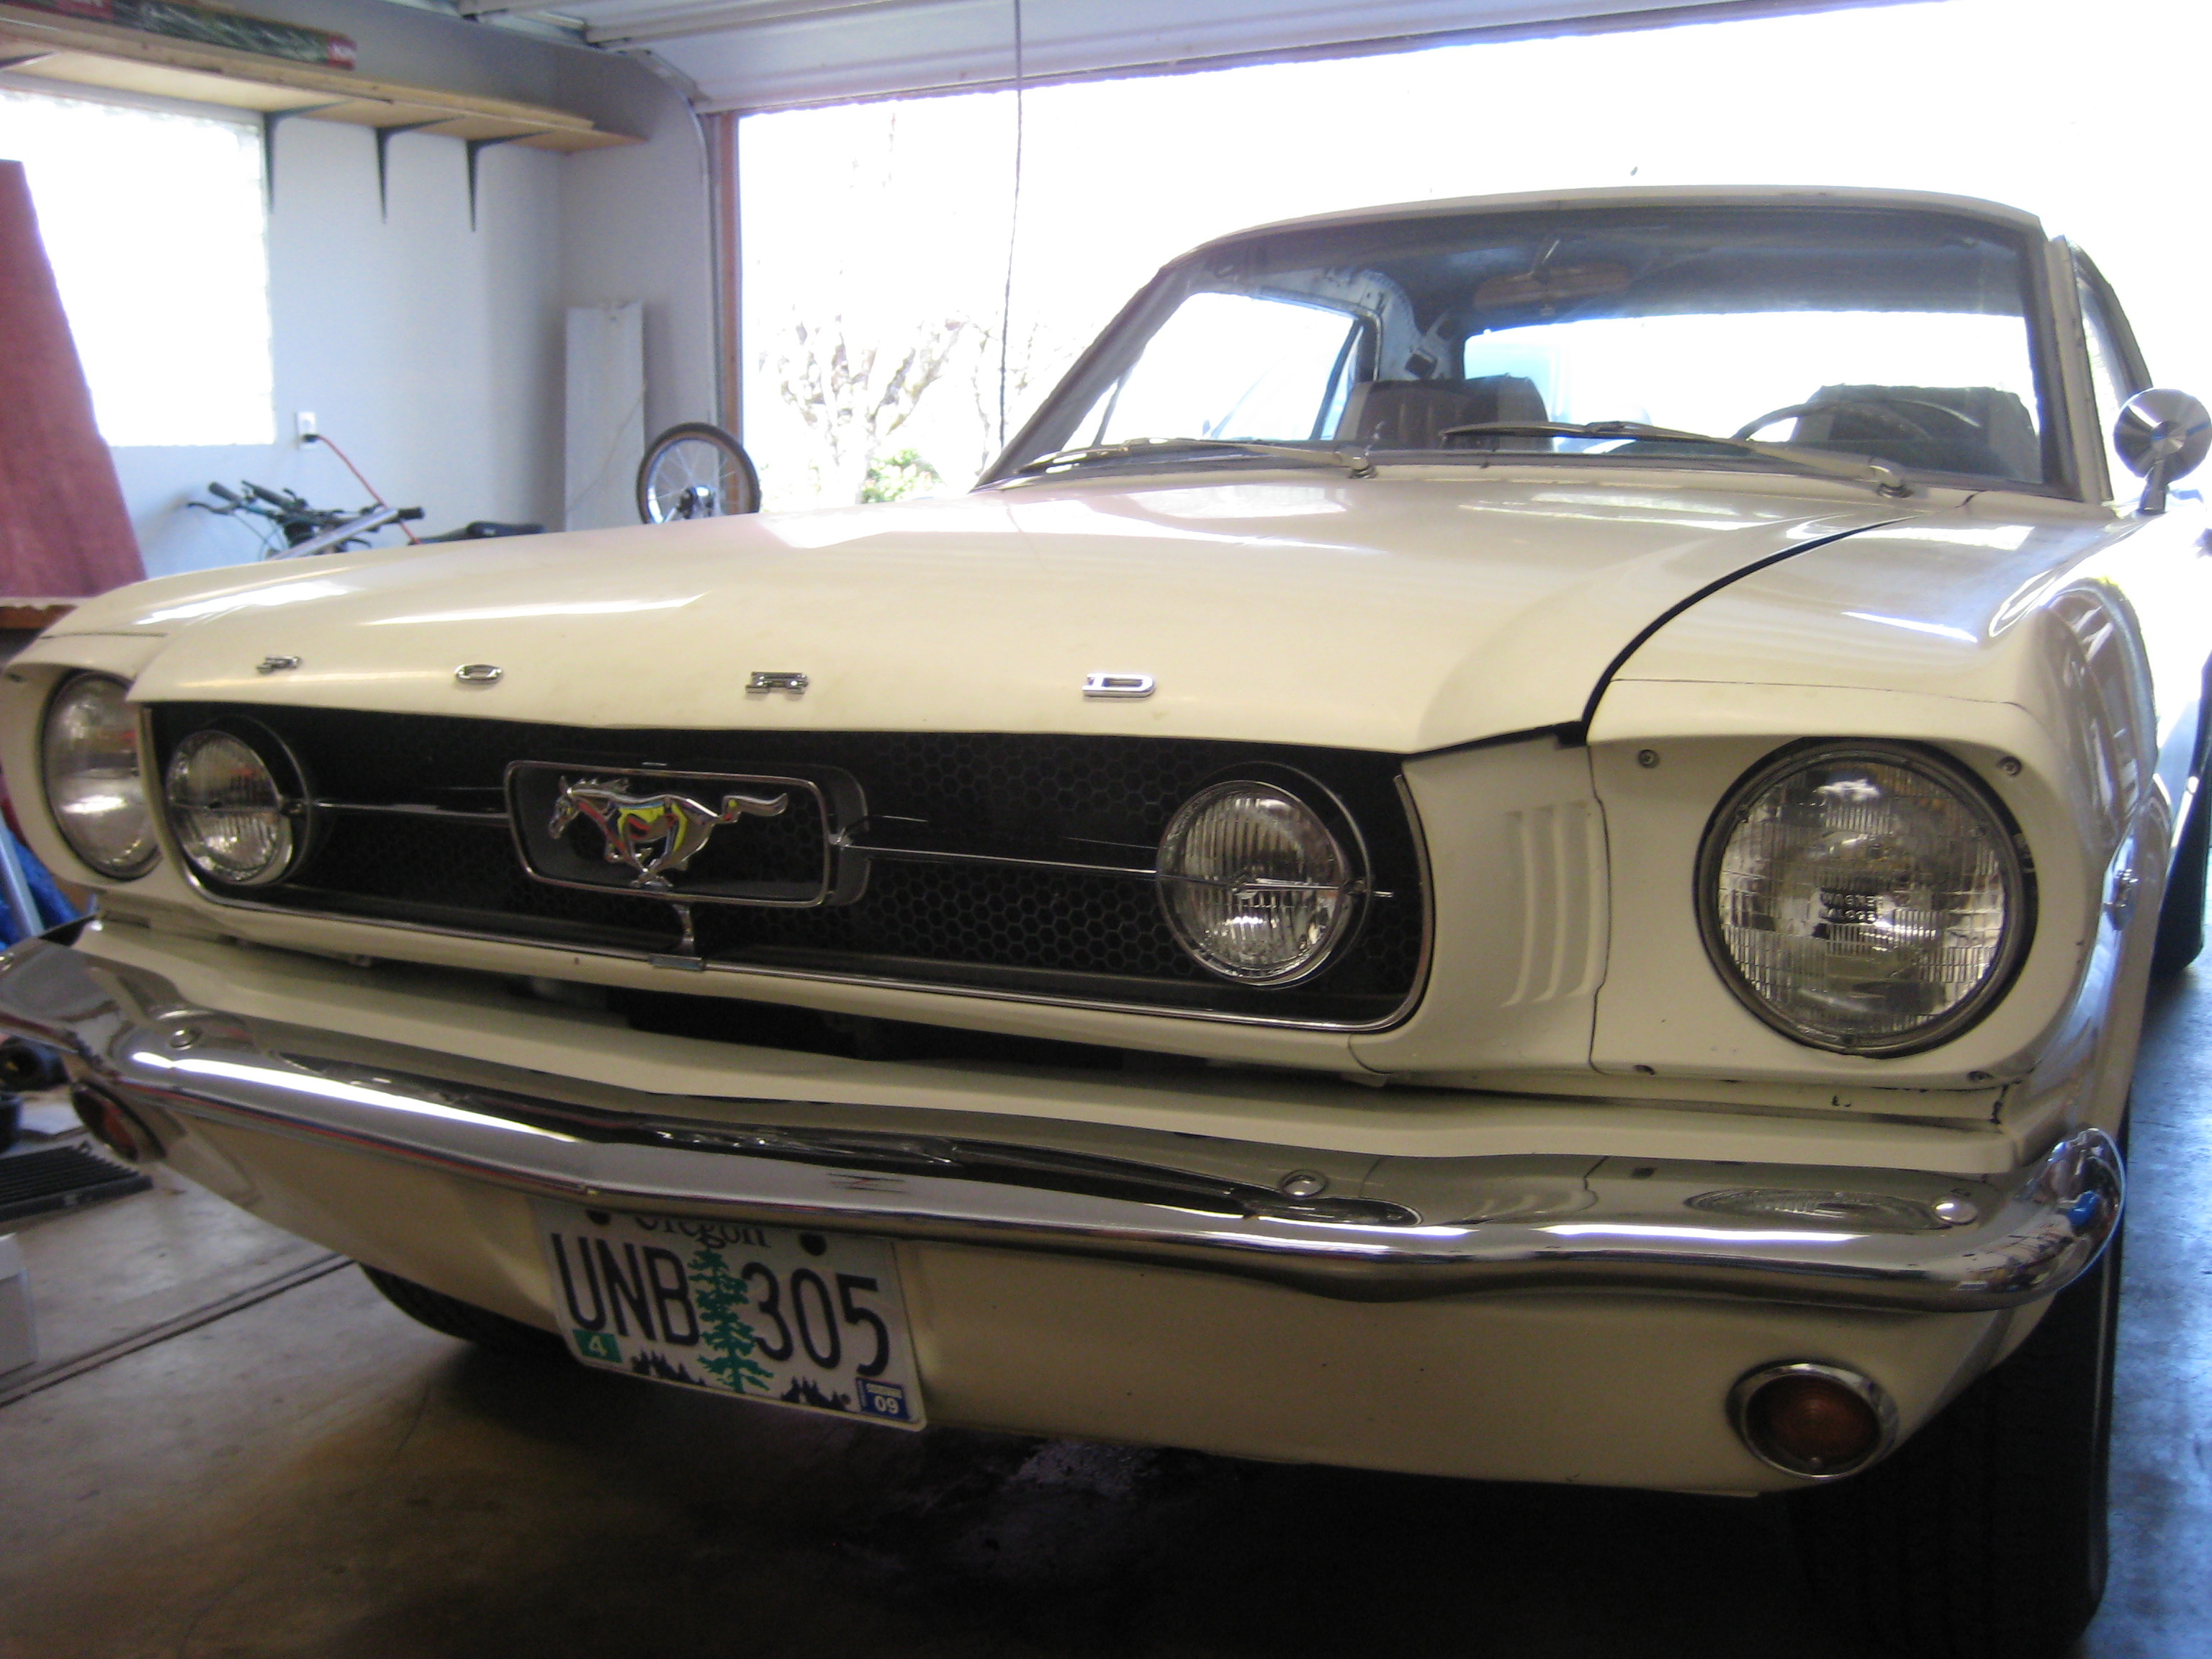
April 2009 - Well, I guess when you've had a success, you starting wanting more. This past weekend, I installed the new GT grill into the Mustang. It looks great! Altogether, this didn't take all that long and the results were pretty instant (easy gratification). Now I long for more easy projects.

October 2008 to March 2009 - Wow, it's been quite awhile since I updated this web page. Let's see, at the end of May last year, I ended up getting the Radiator flushed only to find out that half of the thing was totally blocked. I guess that's what happens after 40 years! So, I ordered a new one (slightly bigger this time) and had a great old time getting it installed. Of course, once I had a slightly thicker radiator, my old fan spacer no longer fit, grrr. So after some careful searching online, I found an adequate replacement on eBay. So, now I have a new 3-row radiator that never seems to get hot...which is a good thing.
Now onto the rest of the project...
After the radiator project, I could continue with the exhaust modifications. I spent an unknown several thousand hours under that car getting the exhaust pieces to all line-up properly and attach. The H-Pipe was probably the easiest part, it attached to the exhaust manifolds without too much trouble, however, once it was in, I then had to add the intermediate pipes and align the mufflers. I really like these Flowmaster mufflers, they seem nice...we shall see how they sound (note, having completed the project, I can tell you that they sound REALLY good!). During this process, I ended up drilling several mounting holes through the floor of the car (near the seatbelt attach points) in order to hang the mufflers. After only making one major mistake, I got the rest aligned well. I made it all the way back to the rear valance and then realized I couldn't finish the project on my own. I needed someone to help with the alignment of the pipes through the holes in the rear valance. Additionally, I needed someone to cut everything to size and weld on the trumpet tips. After much worrying on what this would cost me, I finally broke down and went to a local Muffler shop. The guys there were fantastic. They spent lots of time getting everything exactly where I wanted it. They even went over my joints with the welding torch to make sure it was all secure. It now looks fantastic and I am totally happy. The icing on the cake was it only cost $80...and that was for 2hrs of excellent work. I will definitely be going back.

April to May 2008 - Final big project of this Winter/Spring is upgrading the Exhaust from single to dual. In addition, I upgraded the exhaust manifolds to the HiPo version in order to get more airflow out of the engine, and I changed the valve covers to chrome versions as I continue the transition to clone a GT. Removing the old exhaust was pretty easy once I pulled out the reciprocating saw and cut out the old pipes. Even the old exhaust manifolds came unbolted without too much of a fight. Probably the hardest part was removing the old muffler as it was transversely located next to the rear axle. However, with a few more cuts of the saw, it all came out easily :)
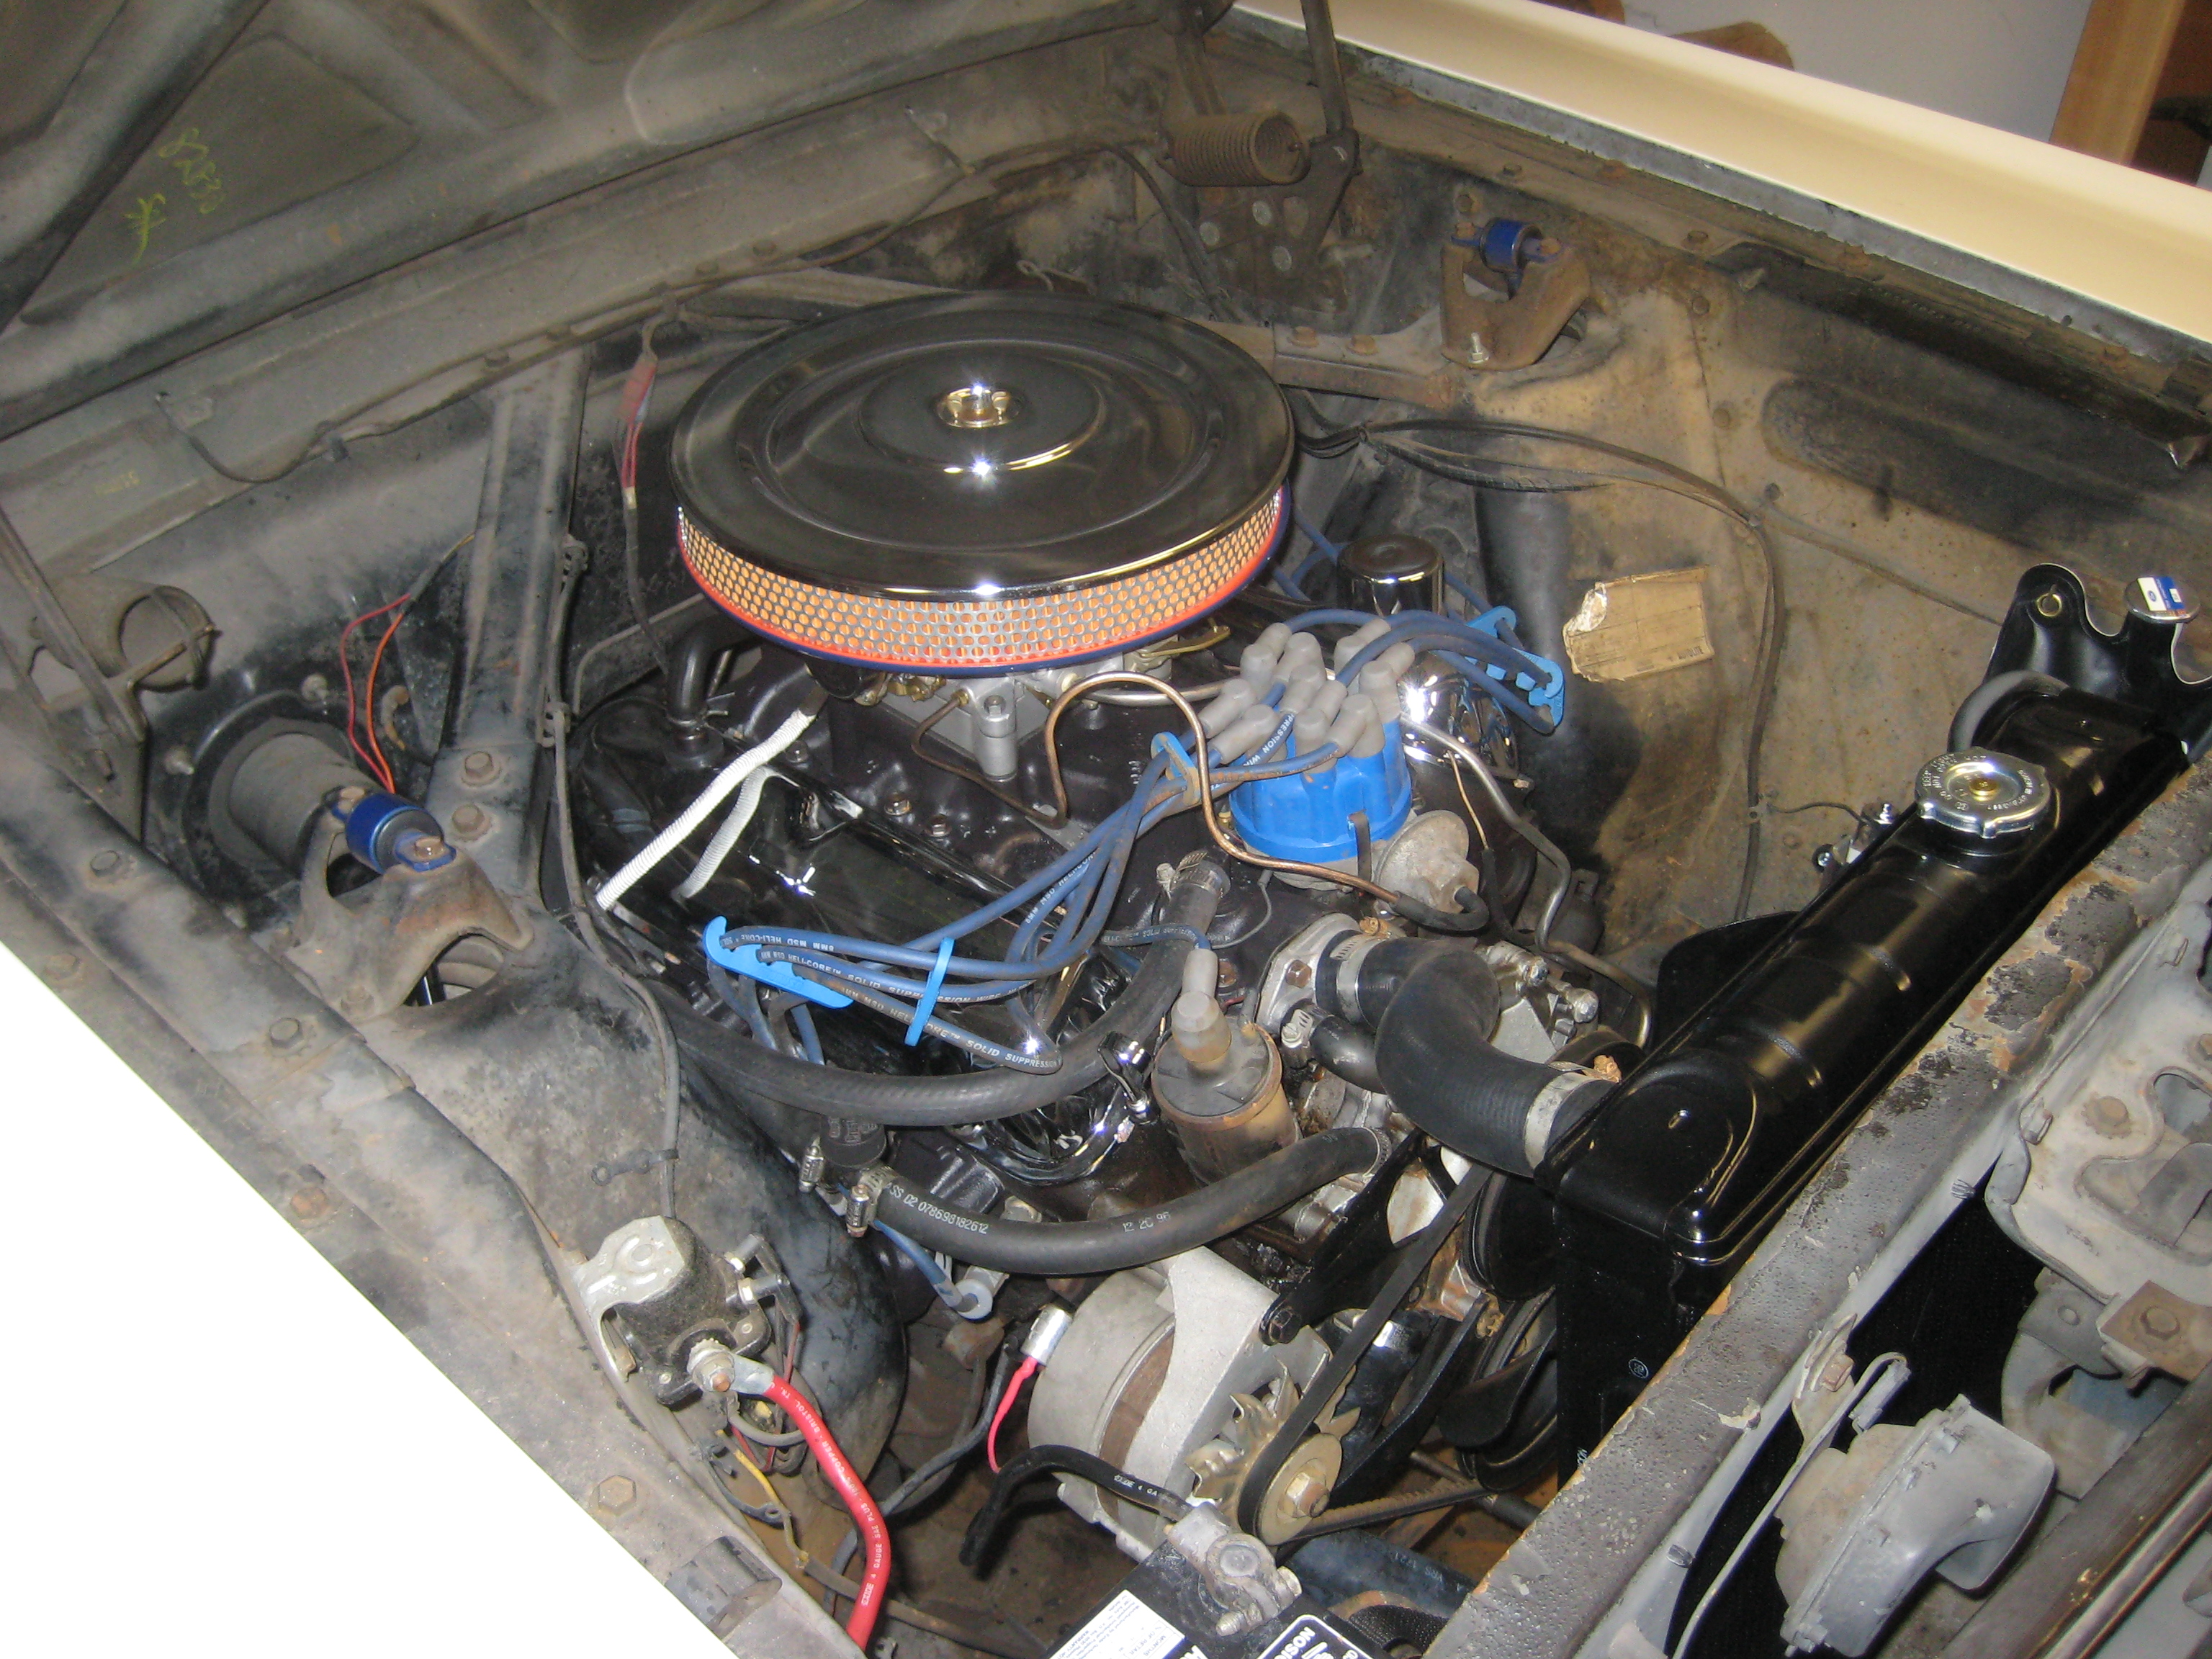
The new HiPo Exhaust manifolds were quite a chore. First of all, I decided to paint them using the same nice flat black paint as the Intake manifold. This required a bit of finesse as I found the best way to ensure a good paint job was to hang them from the ceiling (see below). Next, installation was quite challenging as they are big, bulky, hard to handle, and have to be bolted in just right. As you can imagine, there was a bit of foul language involved. However, after a few hours of messing around, they finally all seated very well (see picture). I'm also very happy with having painted them as they look very good sitting near the Intake Manifold. Altogether, things are starting to shape up nicely.


I have now moved onto the exhaust pipe placement, but haven't made much progress. Everything has arrived from Sacramento Mustang (see below), but work and work travel pressures have left me with little time. Additionally, the radiator started acting up on me before I started this project so I have some work to debug it now too. I'll post another update as I make more progress.

March 2008 - Next minor project was installing rear seat belts. Normally I would've left them out, but I need to be able to take my son with me in his carseat which meant a rear seatbelt. Since this car never had the rear seatbelts originally, none of the mounting points existed. Luckily, a very nice person on mustangforums.com provided me a picture of where to drill the holes (see below). This was the first time I took a drill to my chassis so as you can imagine, I measured everything about 200 times before taking the plunge. It all turned out good and the seatbelts look like they came original :)

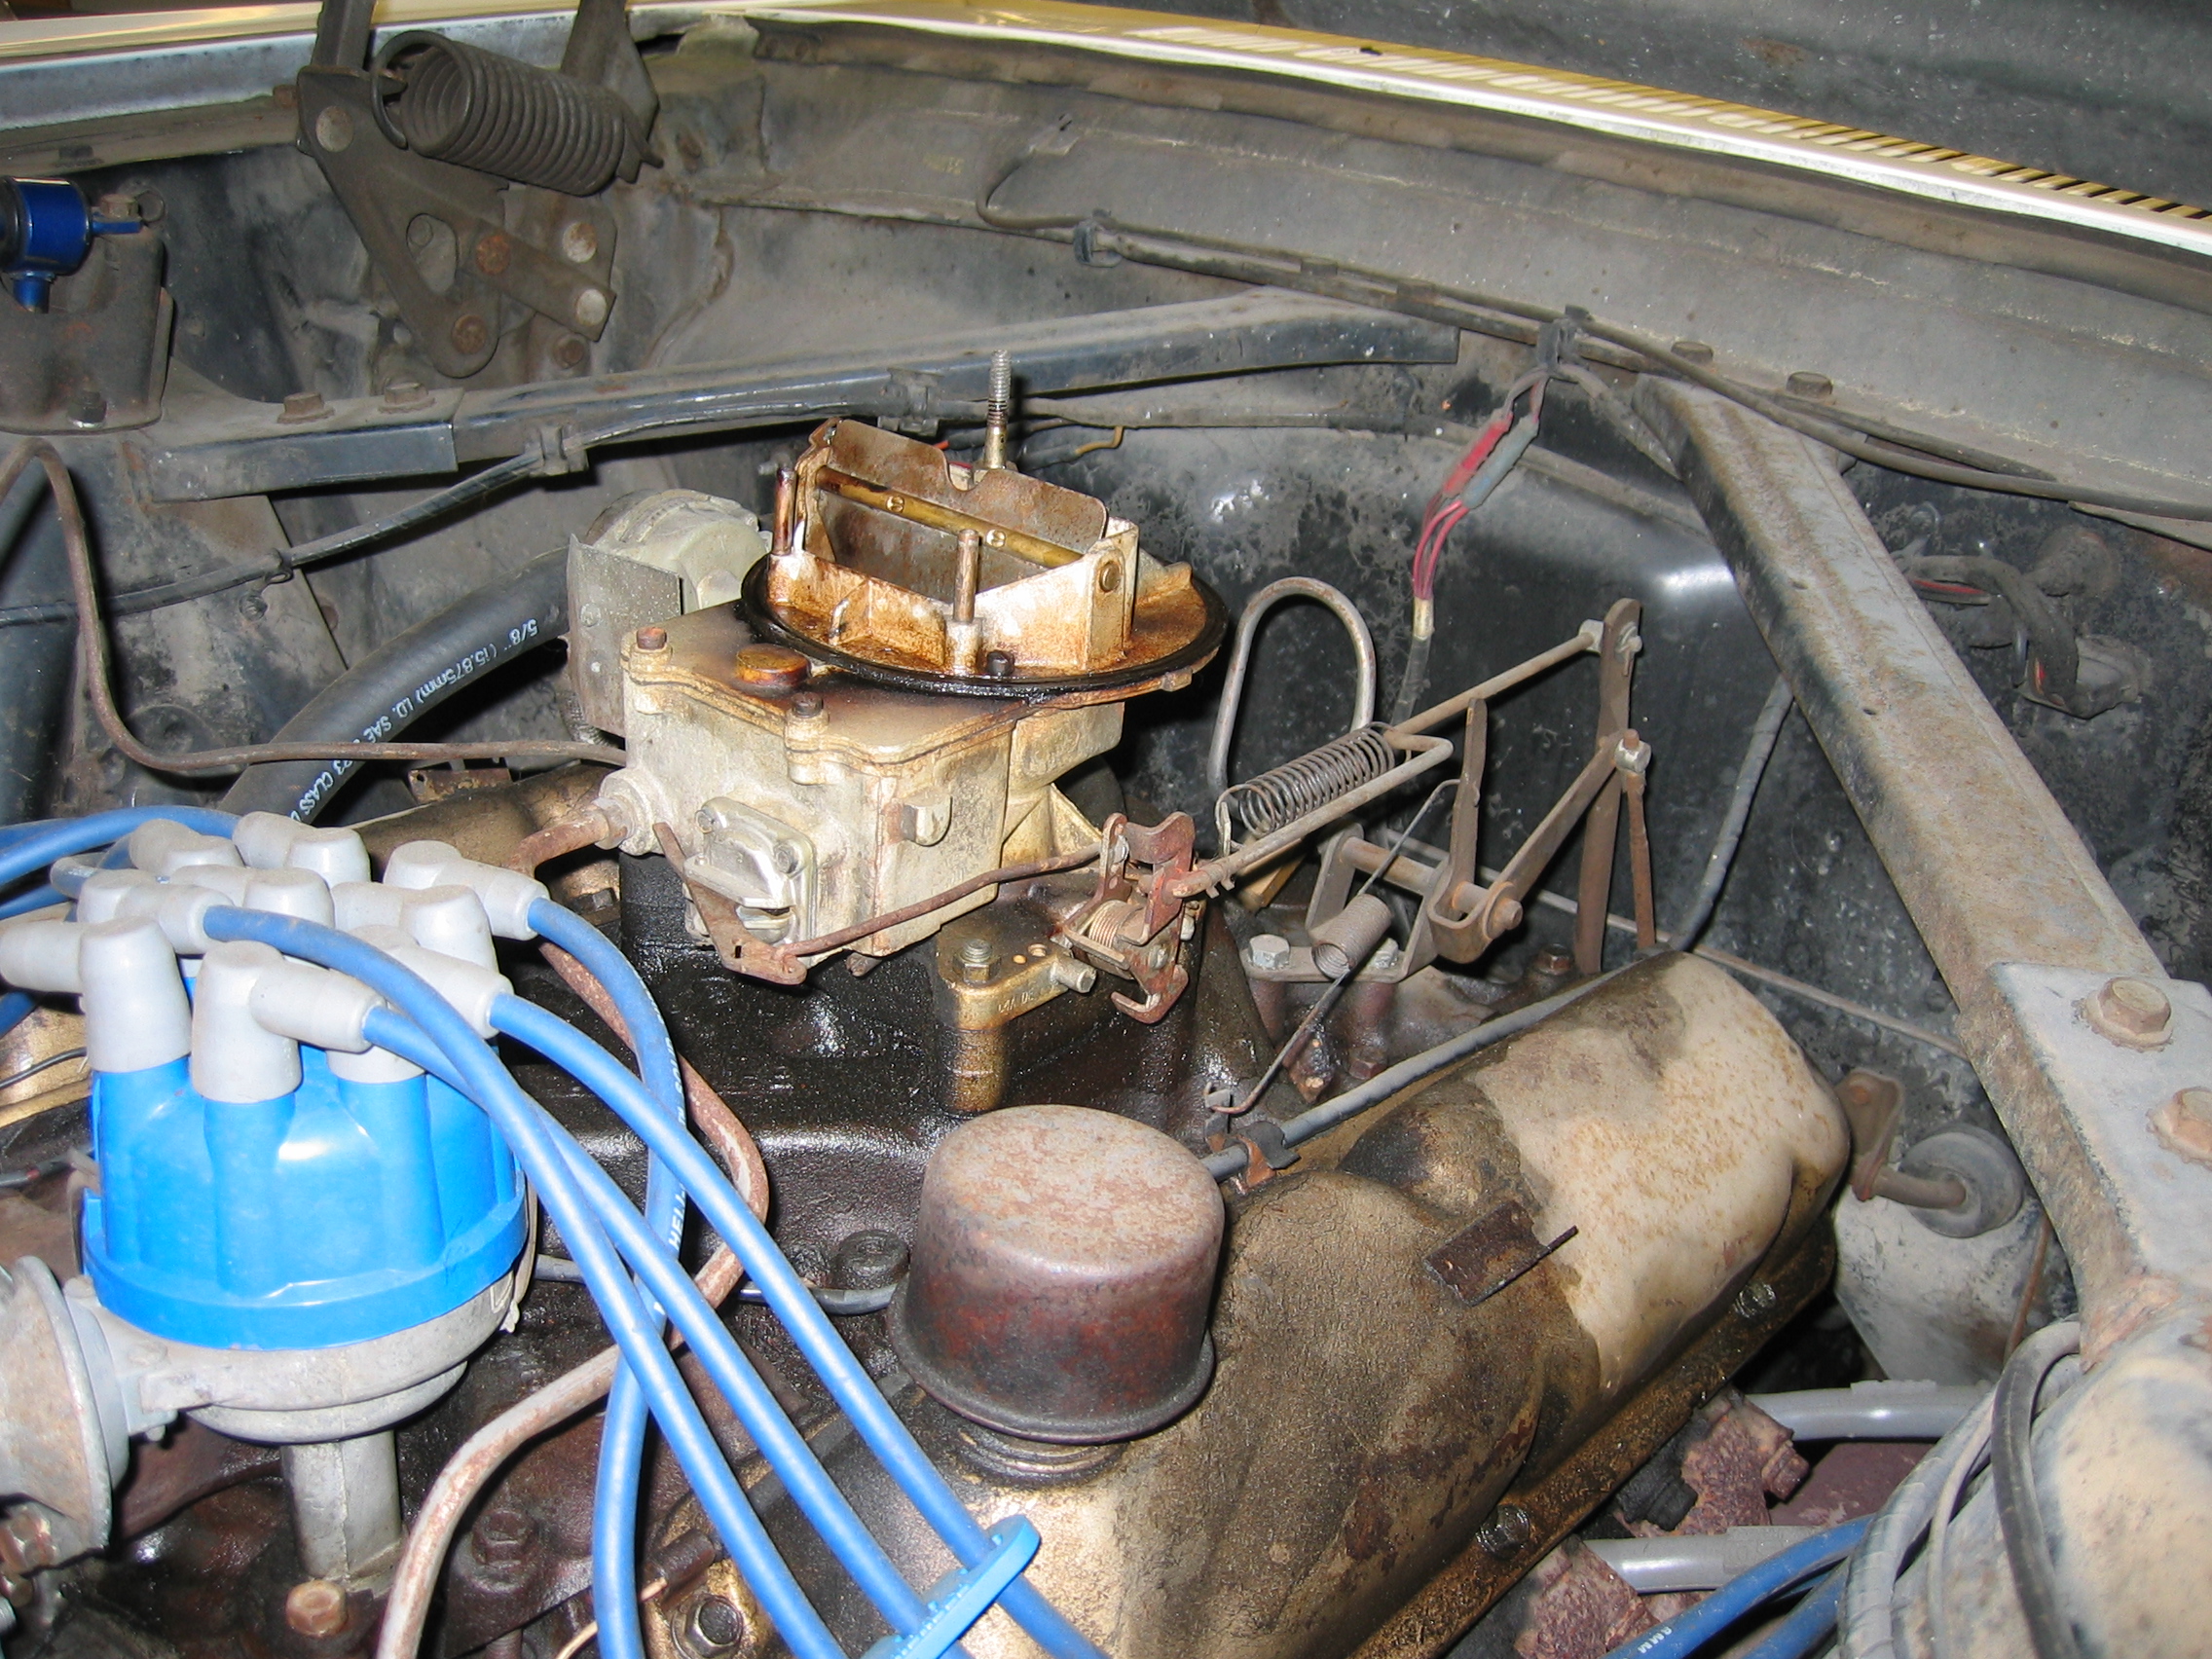
December 2007 to February 2008 - Took on my first big task: upgrading the carburetor from 2 barrel to 4 barrel (see original picture below). This upgrade also included a new Intake Manifold. After doing a bunch of research, I chose Pony Carburetors as my vendor. They provided the carb, intake, choke tubes, and a great instructional DVD.
Everything came on time, but the intake was painted Ford blue. This would be correct for a 1966 Mustang, but mine is a 1965 which meant I had to get it stripped and then repainted. A car buddy at work gave me the name of a good sandblaster place and in 2 days I was back in business. I chose a very nice flat black paint (1200 degree) and painted the intake myself.
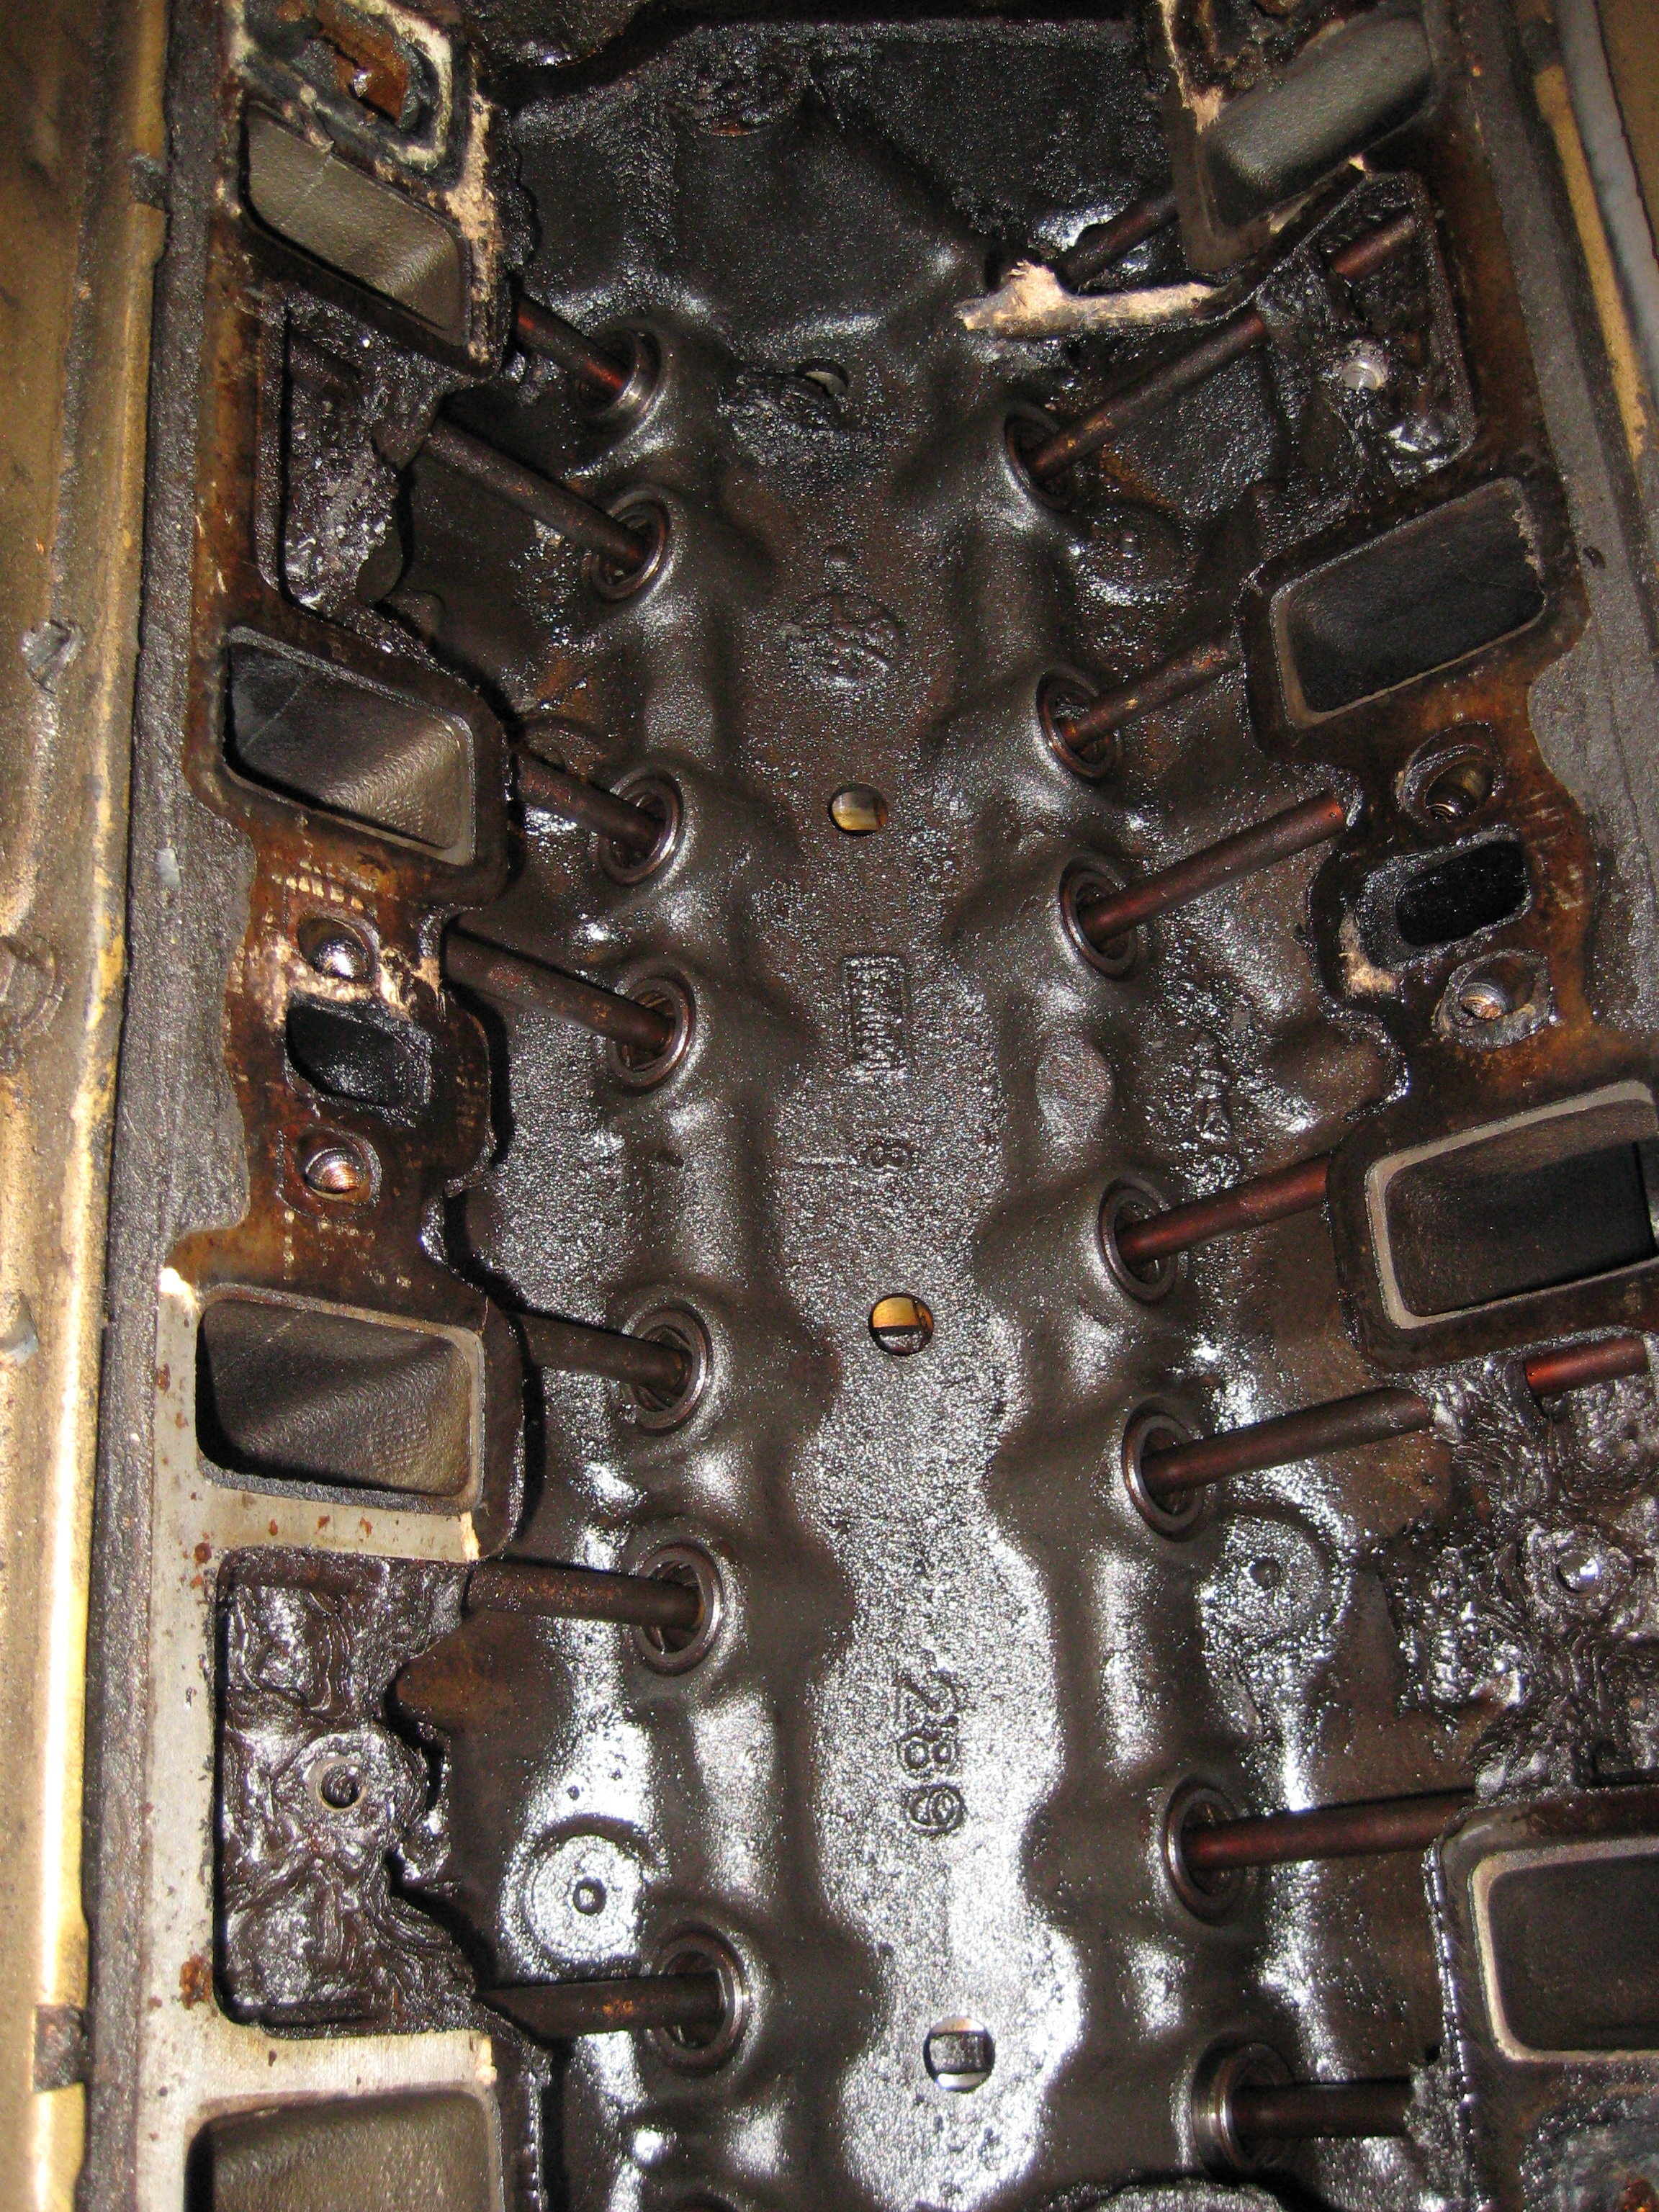
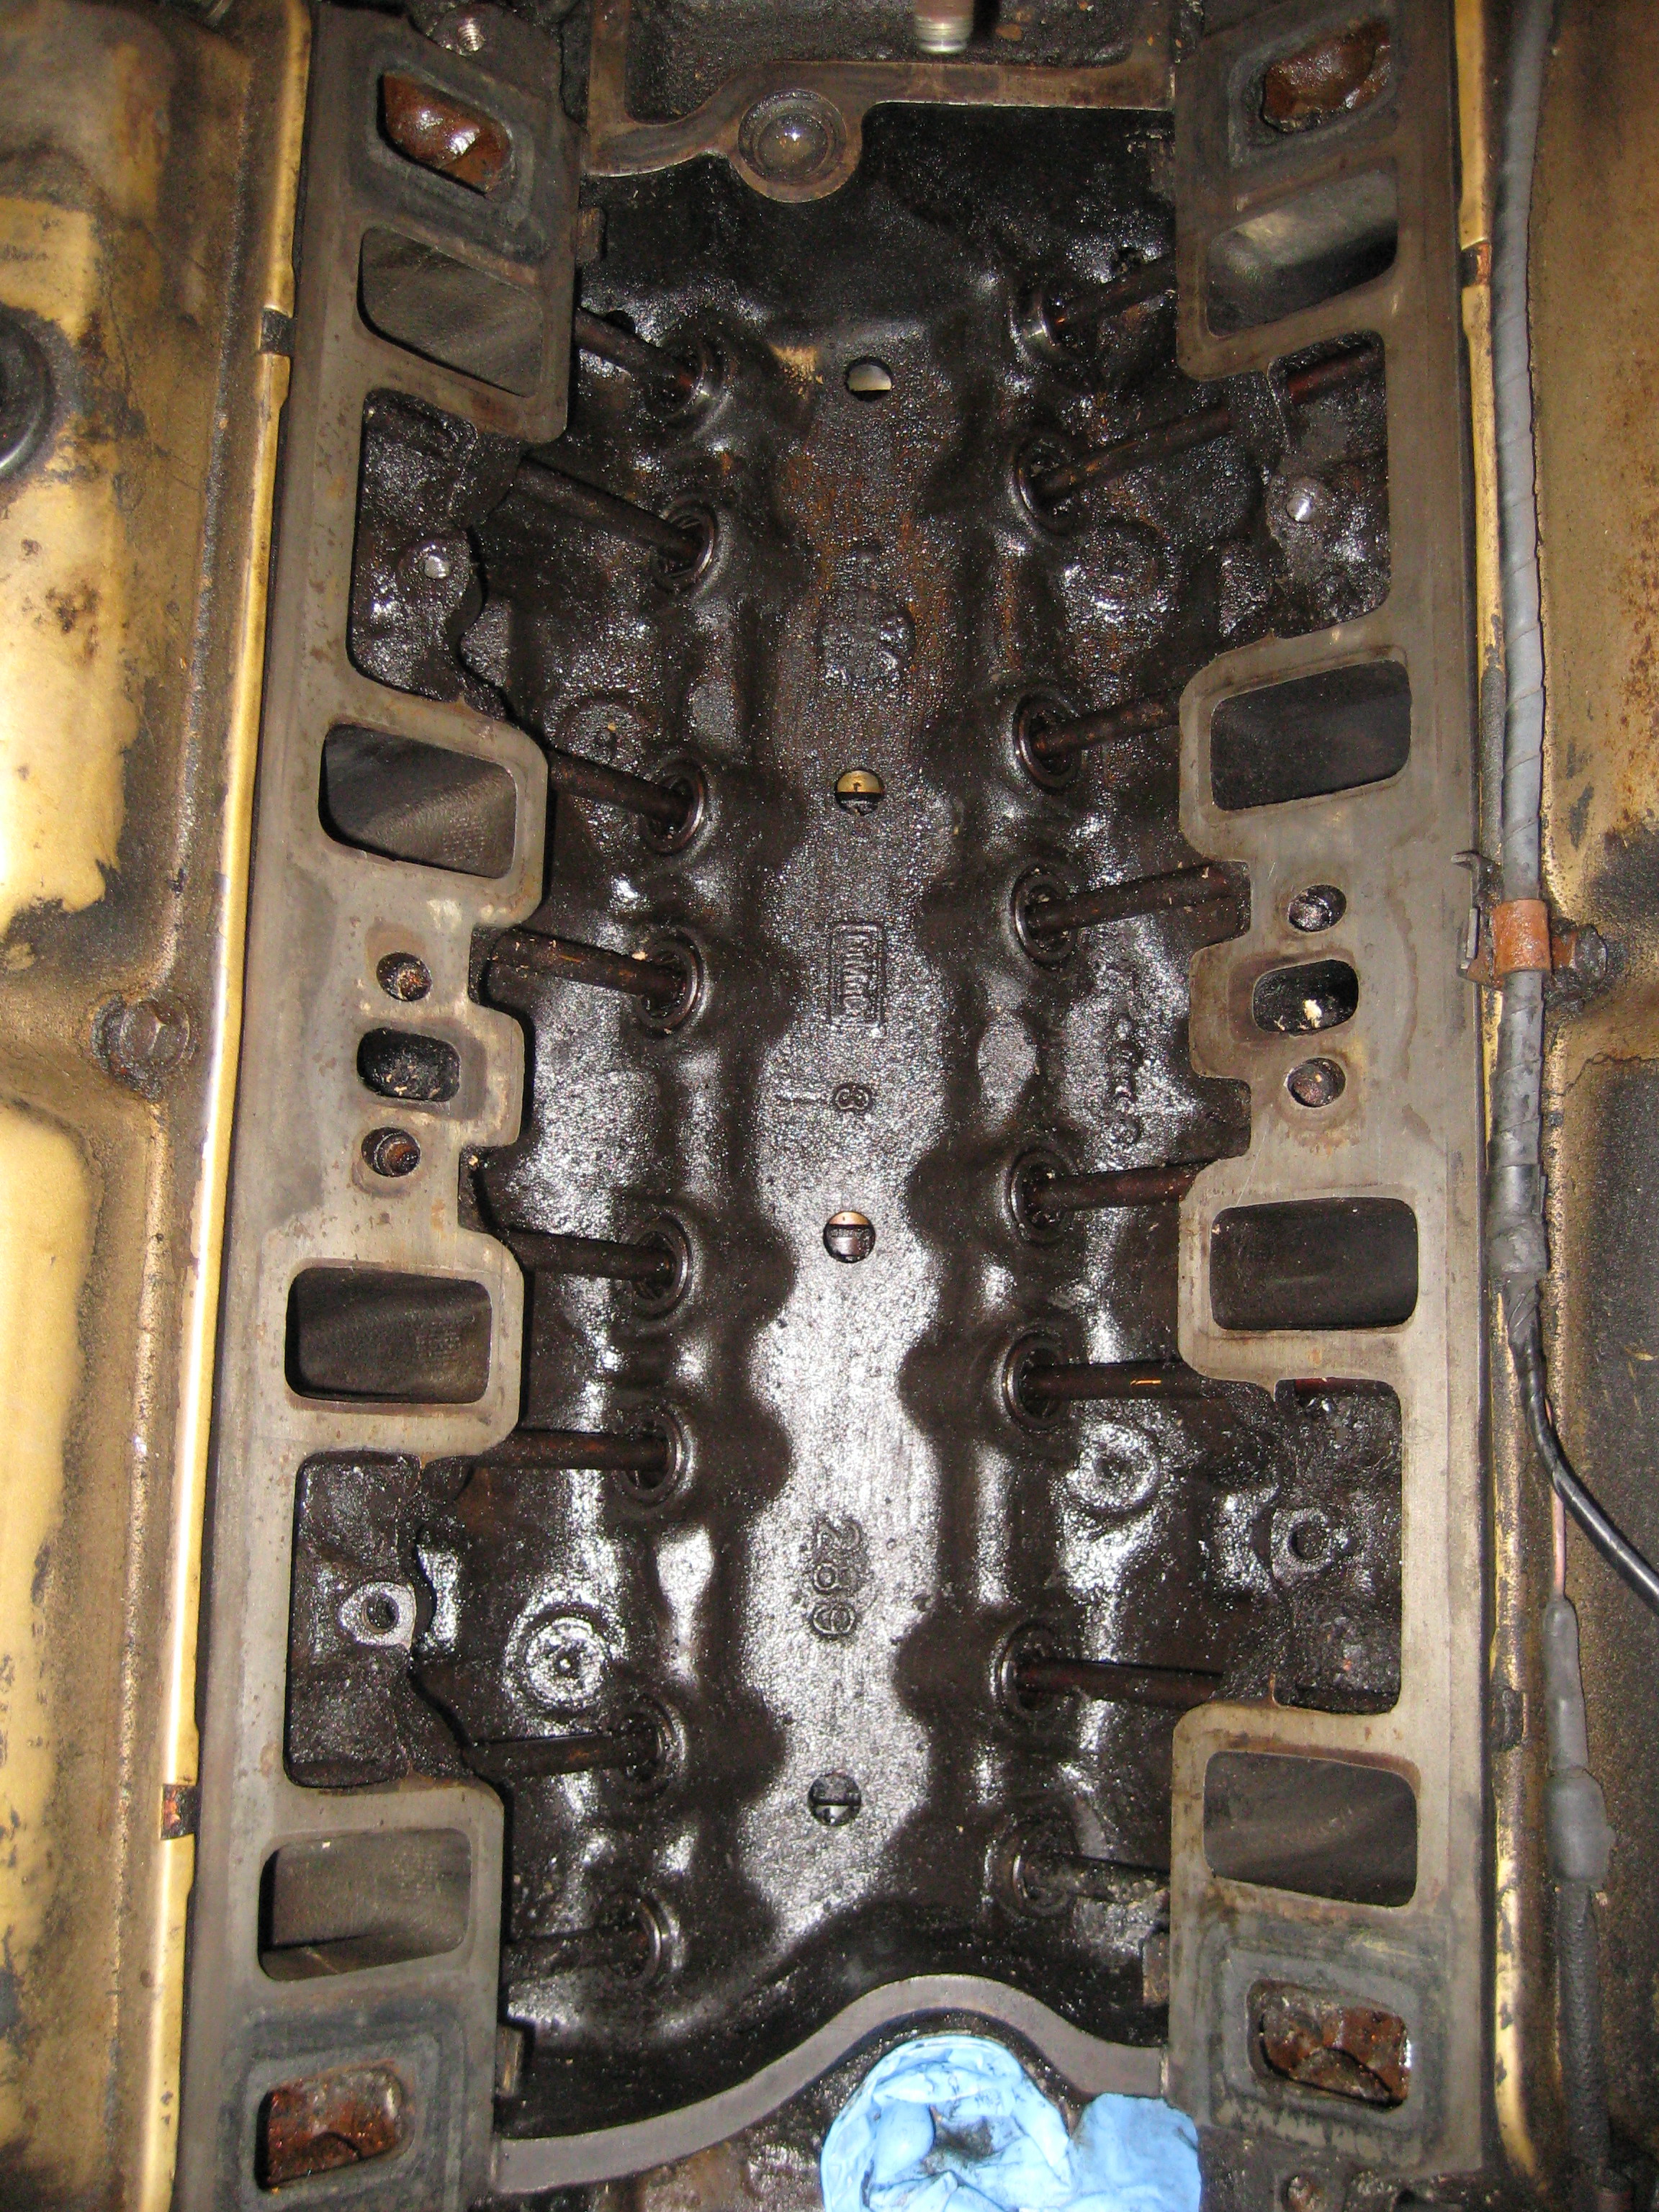
In parallel to these activities, I removed the old carb and intake. I then spent several hours cleaning up the mating surfaces to remove all of the old gaskets and oil build-up (see before and after pictures below). I also really went to town cleaning the fuel line, vacuum advance line, and every nut and bolt I took off the engine. After reinstalling everything (new intake, new carb, temperature sensor, vacuum line to the transmission, thermostat assembly, hoses, etc), the fuel pump stopped working so I removed and totally cleaned it up as well. Then I was getting some action, but the engine wouldn't turn over. Turns out, I had the distributor one tooth off from where it should be. After adjusting the distributor, the car started on the first turn!

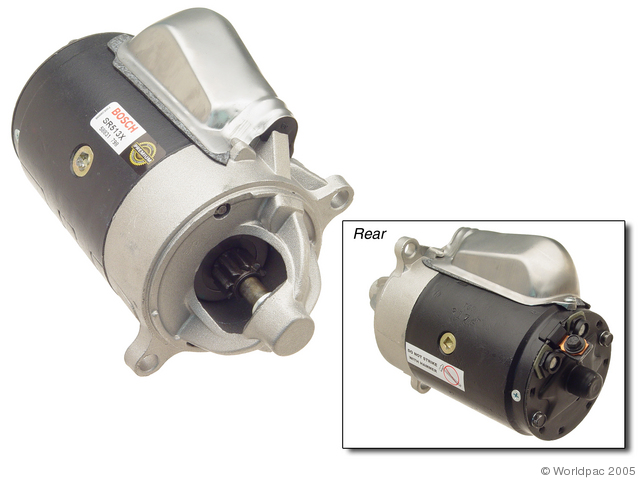
September 26, 2007 - Today I decided to replace the starter. It was sounding bad when I tried to turn over the engine. I bought a replacement and installed it without issue. The car now sounds better when it starts :)
September 6, 2007 - After doing lots of traveling, I finally found time to document the entire car. I took tons of pictures to use as a basis of where things started. Luckily, I found very little rust. Only 1 small area needs some patching.
July 20, 2007 - Today I purchased my first Ford Mustang (1965). I was lucky to find a pretty good candidate for restoration/rebuilding. Now let the fun begin!

